A guitar neck has a small curve on the fretboard. This fretboard "radius" makes the guitar feel more comfortable while playing. For this guitar I'm going to go with a 9.5" radius. Below is the sanding block that we used to achieve the radius.

With some double sided tape we stick the sandpaper to the radius block.

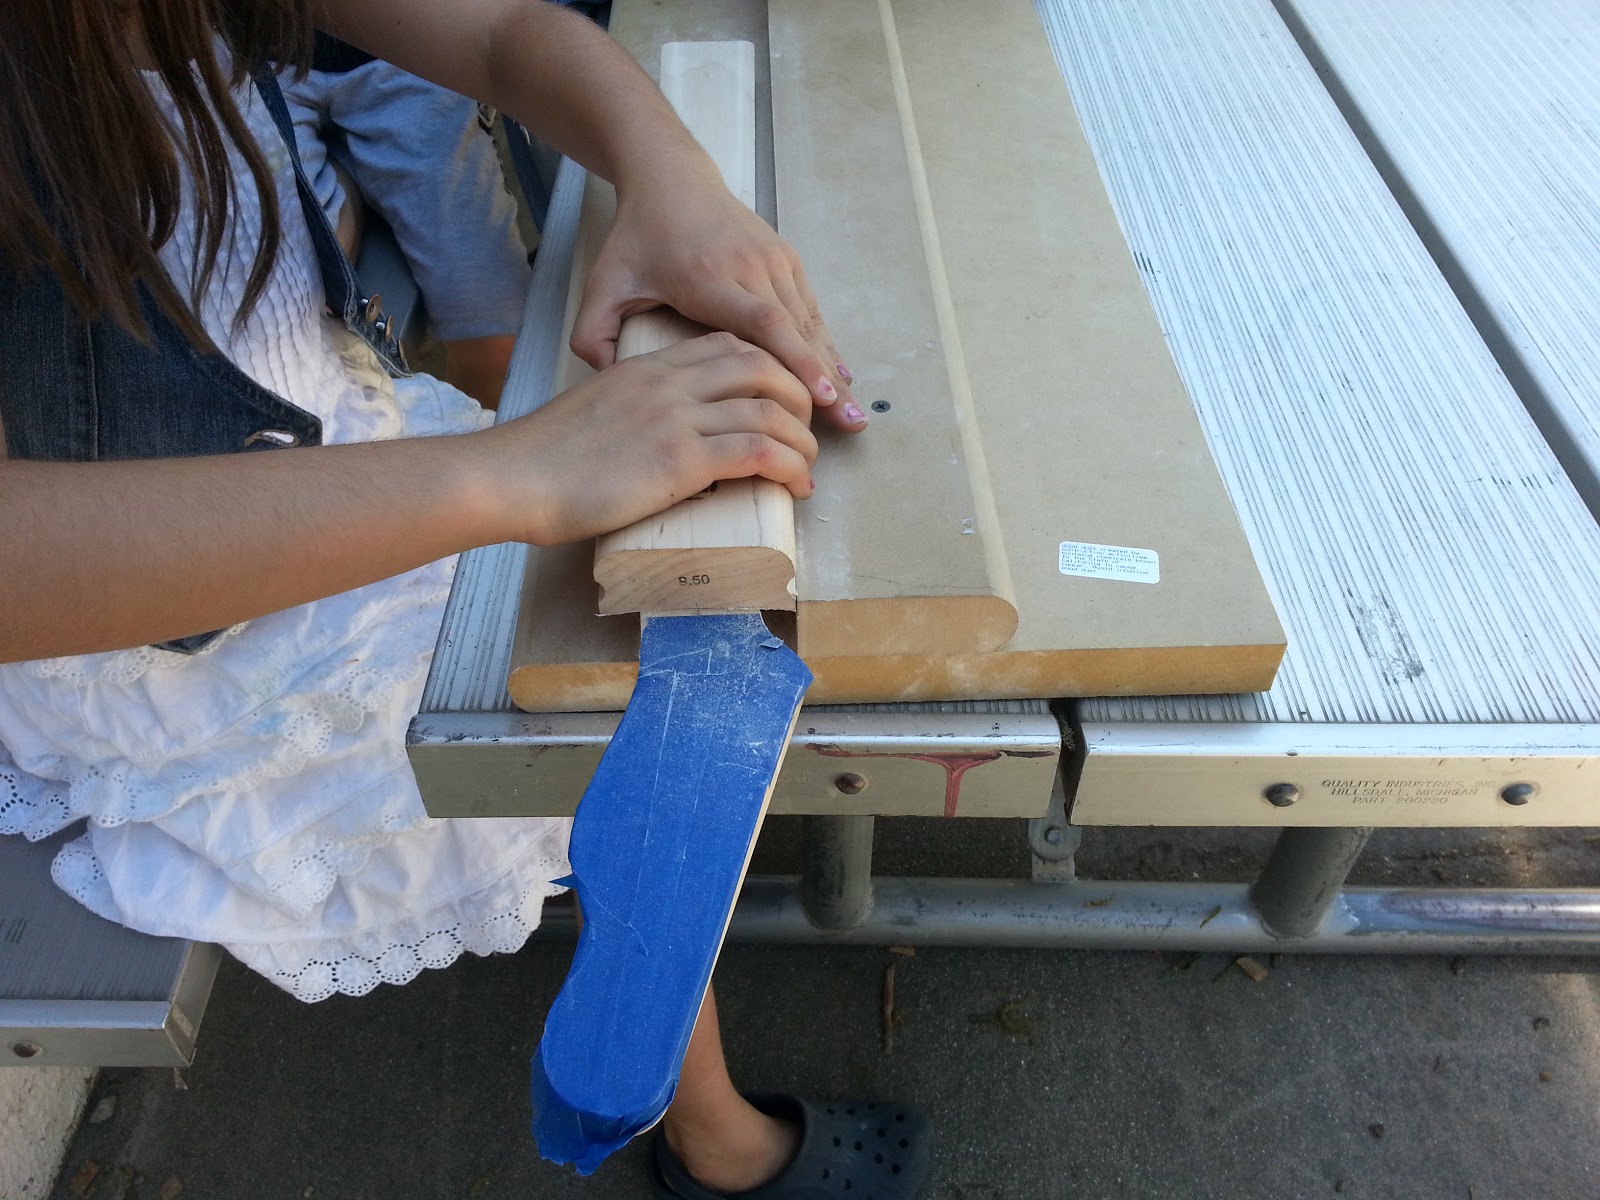
To help keep the radius consistent while sanding I use this jig to keep the sanding block straight while sanding.

Here's one of the Room 10 kids sanding the fretboard.
Now it's time to cut the fret slots. The fret slots must be cut very precisely. For this I made a slot cutting jig and and different templates for the job. I attach the fretboard or in this case the entire neck to the template below and place it in the slot cutting jig.

The slot cutting jig keeps the saw straight while an index pin fits into the template making sure the cut happens precisely where it should.

Before moving on I double check the radius and fret slot depth.

And the finished result.

For the fret markers we're going to keep it old school and use Bakelite which was an early plastic and what was originally used on the Fender Telecaster. Here I'm cutting the fret markers out of a sheet of Bakelite.

Marking out the neck where we'll locate the fret markers.

Drilling the fret marker locations.

Drilling is done.
.jpg)
The fret markers installed and sanded flush.

The kids and I repeat a similar process with the "side dots" on the side of the neck. Here we've glued the side dots in.

After we sand the side dots flush all of the markers are in there proper locations.

No comments:
Post a Comment